Model Lifecycle Management
Model Library
The model library provides access to a large number of available models that you can leverage within your projects and Agents. This includes models from the leading providers and also includes Airia's own fine tuned models.
We created a short tutorial to explain how to use the library to get you started.
Adding a model
You can search, review costs, and add models to an existing project or to a new project.
To add a model to a project:
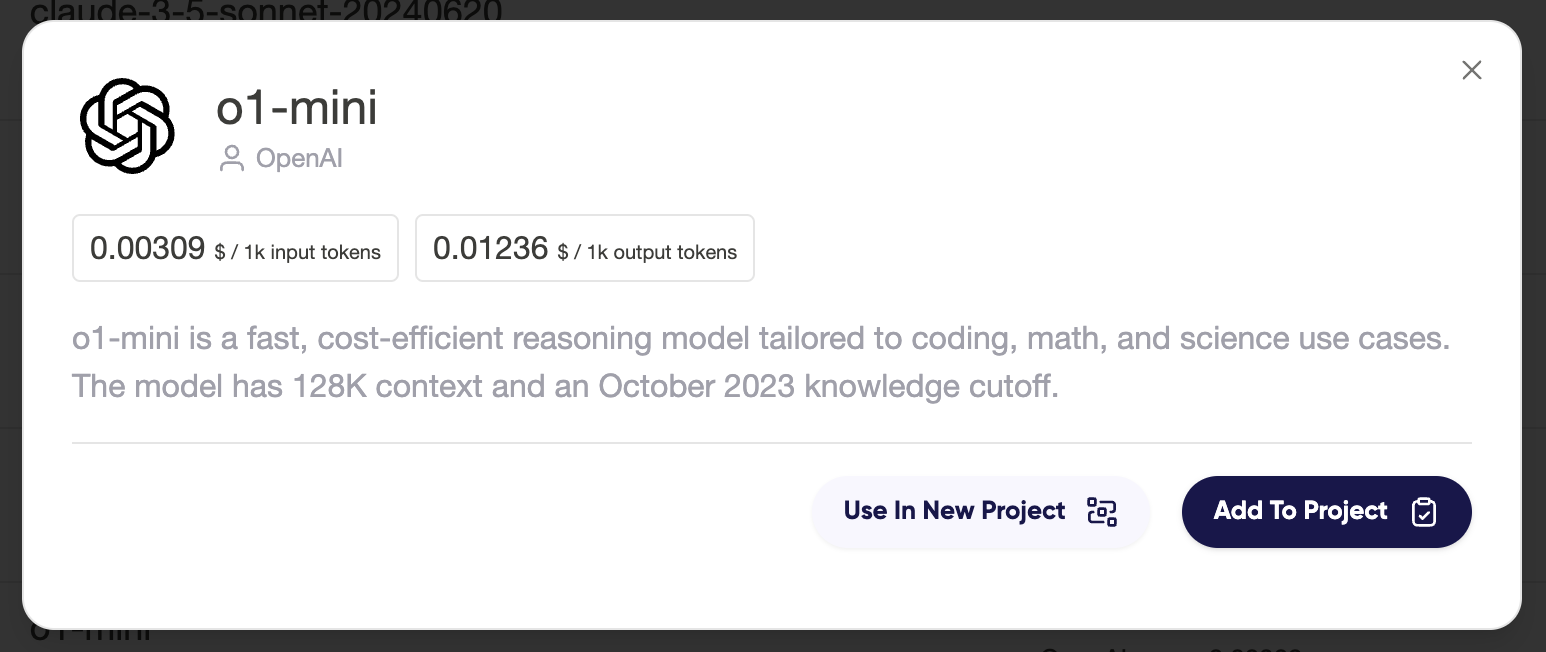
- Select the desired model
- Review the information
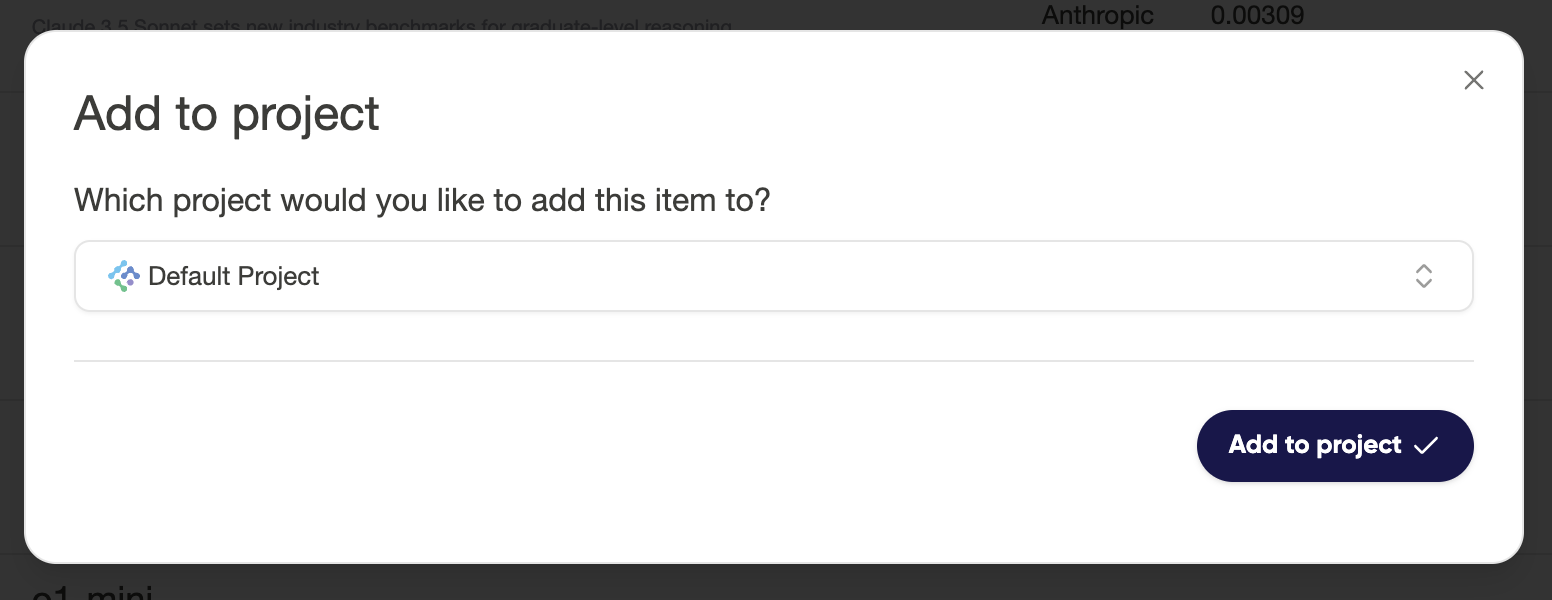
- Select Add to Project
- Select the project you wish to add the model to
- Provide a friendly name to help you remember the model
- Select if you'll use the Airia Universal Key or if you want to provide your own credentials for the model provider
- Your model is now ready for use within Agents and prompt testing


Editing a model
You can revisit a model configuration at any time to edit the model display name, credential, prices or system prompt.
To edit a model:
- Navigate to the Models page of the project
- Select the model you would like to edit
- Edit the desired settings
- Save model changes
Adding a custom model
You can add models that Airia has not published when you bring your own key. This allows you to leverage existing accounts with model providers for the endpoints supported by Airia.
To add a custom model:
- Navigate to the Models Library.
- From the footer message, select Add a model.
- Provide a display name, and select the model provider.
- Add the model endpoint, and provide a model name. Find supported provider endpoints below.
- To get the most of Airia's consumption tracking, input the price charged by the provider for model usage.
- Select the input type, and provide a system prompt [Note: a system prompt is not required]
Supported Endpoints
| Provider | Endpoint | Notes |
|---|---|---|
| AI21 | https://api.ai21.com/v1/chat/completions | |
| Alibaba | https://dashscope-intl.aliyuncs.com/compatible-mode/v1/ | Compatible with chat completions only |
| Anthropic | https://api.anthropic.com/v1/messages | |
| AWS Bedrock | https://console.aws.amazon.com | Compatible with conversational models only |
| Azure AI Studio | https://{{Model-Friendly-Name}}.{{Region}}.models.ai.azure.com/chat/completions | |
| Azure OpenAI | https://{{deploymentId}}.openai.azure.com/openai/deployments/{{Model-Friendly-Name}}/chat/completions | |
| Cohere | https://api.cohere.com/v1/chat | |
https://generativelanguage.googleapis.com/v1/models | Compatible with chat completions only | |
| Mistral | https://api.mistral.ai/v1/chat/completions | |
| OpenAI | https://api.openai.com/v1/chat/completions | |
| Ollama | http(s)://{{SomeIpOrName}}:11434/api/chat | |
| Perplexity | https://api.perplexity.ai/chat/completions | |
| Replicate | https://api.replicate.com/v1/models/{{Model-Name}}/predictions | |
| Together AI | https://api.together.xyz/v1/chat/completions | |
| xAI | https://api.x.ai/v1/ | Compatible with chat completions only |
| Custom | https://{{provider-domain}}/v1/ | Specify any OpenAI compliant provider domain. Compatible with chat completions only. |
Customizing an Agent model instance
Models can be configured in how they respond by setting several values in the sidebar when they are added to an Agent. These include
- Temperature - to control the creativity of a model. Higher values generate more creative responses, and lower values are more deterministic.
- System Prompt - added to a model during initial configuration. This is for visibility only and cannot be changed within the Agent.
- Prompt - any secondary or additional prompt message to be included with the model prompt.
- Include Context - provide context around the present day and time when sending messages to the model.
