Prerequisites
Before adding a tool to an agent, ensure it’s already configured in your project. If not, follow the setup instructions in the Tools Setup Guide to add and authenticate your desired tool.Add a Tool to an Agent
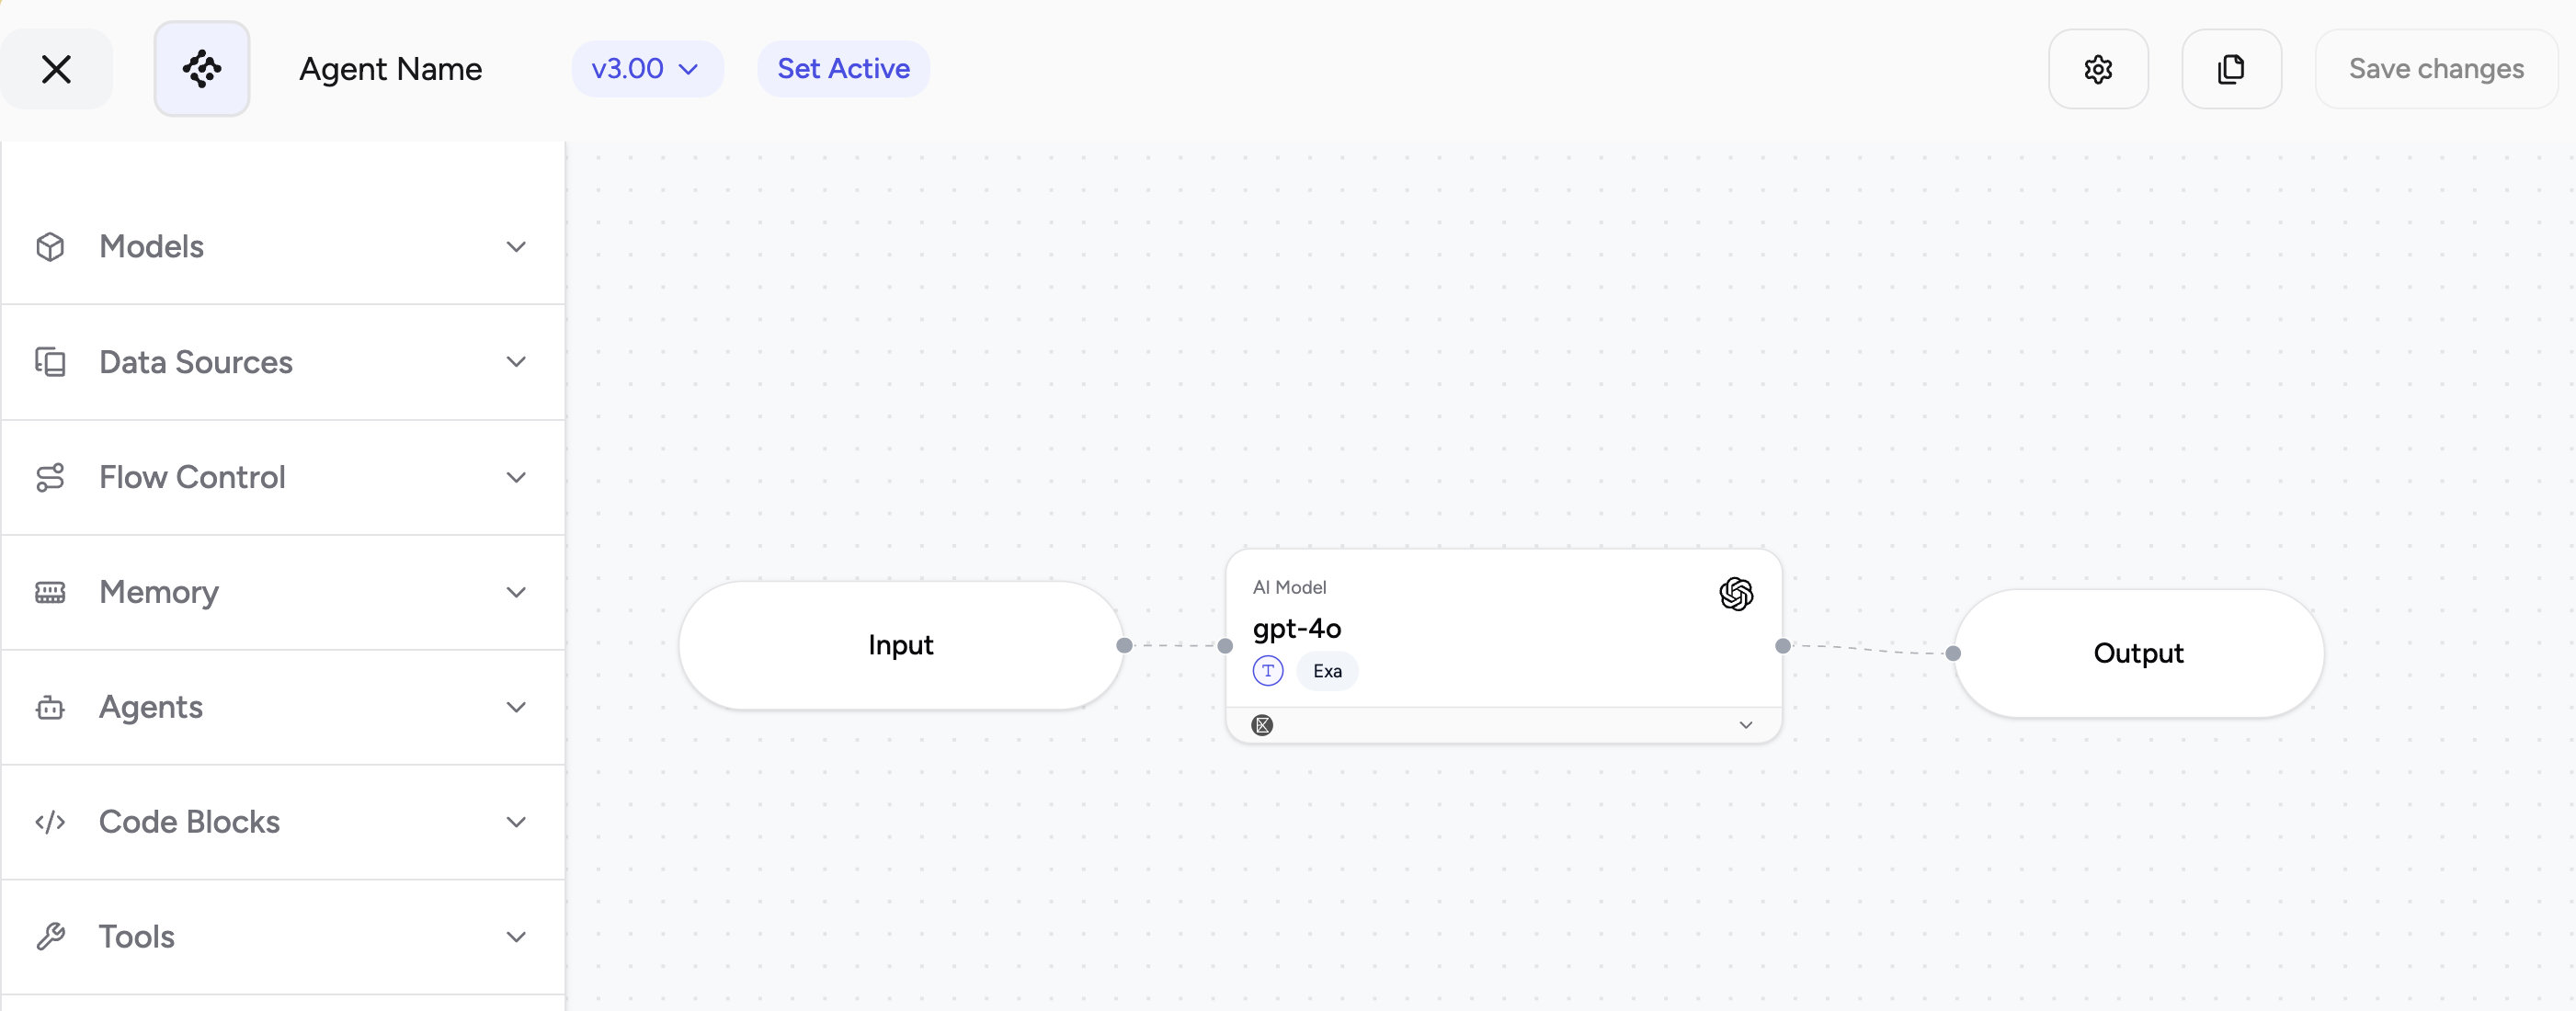
Once a tool has been added to your project and its authentication provided, you can integrate it into an agent workflow:- Navigate to your Agent Canvas.
- On the left-hand sidebar, you will see a list of your added Tools.
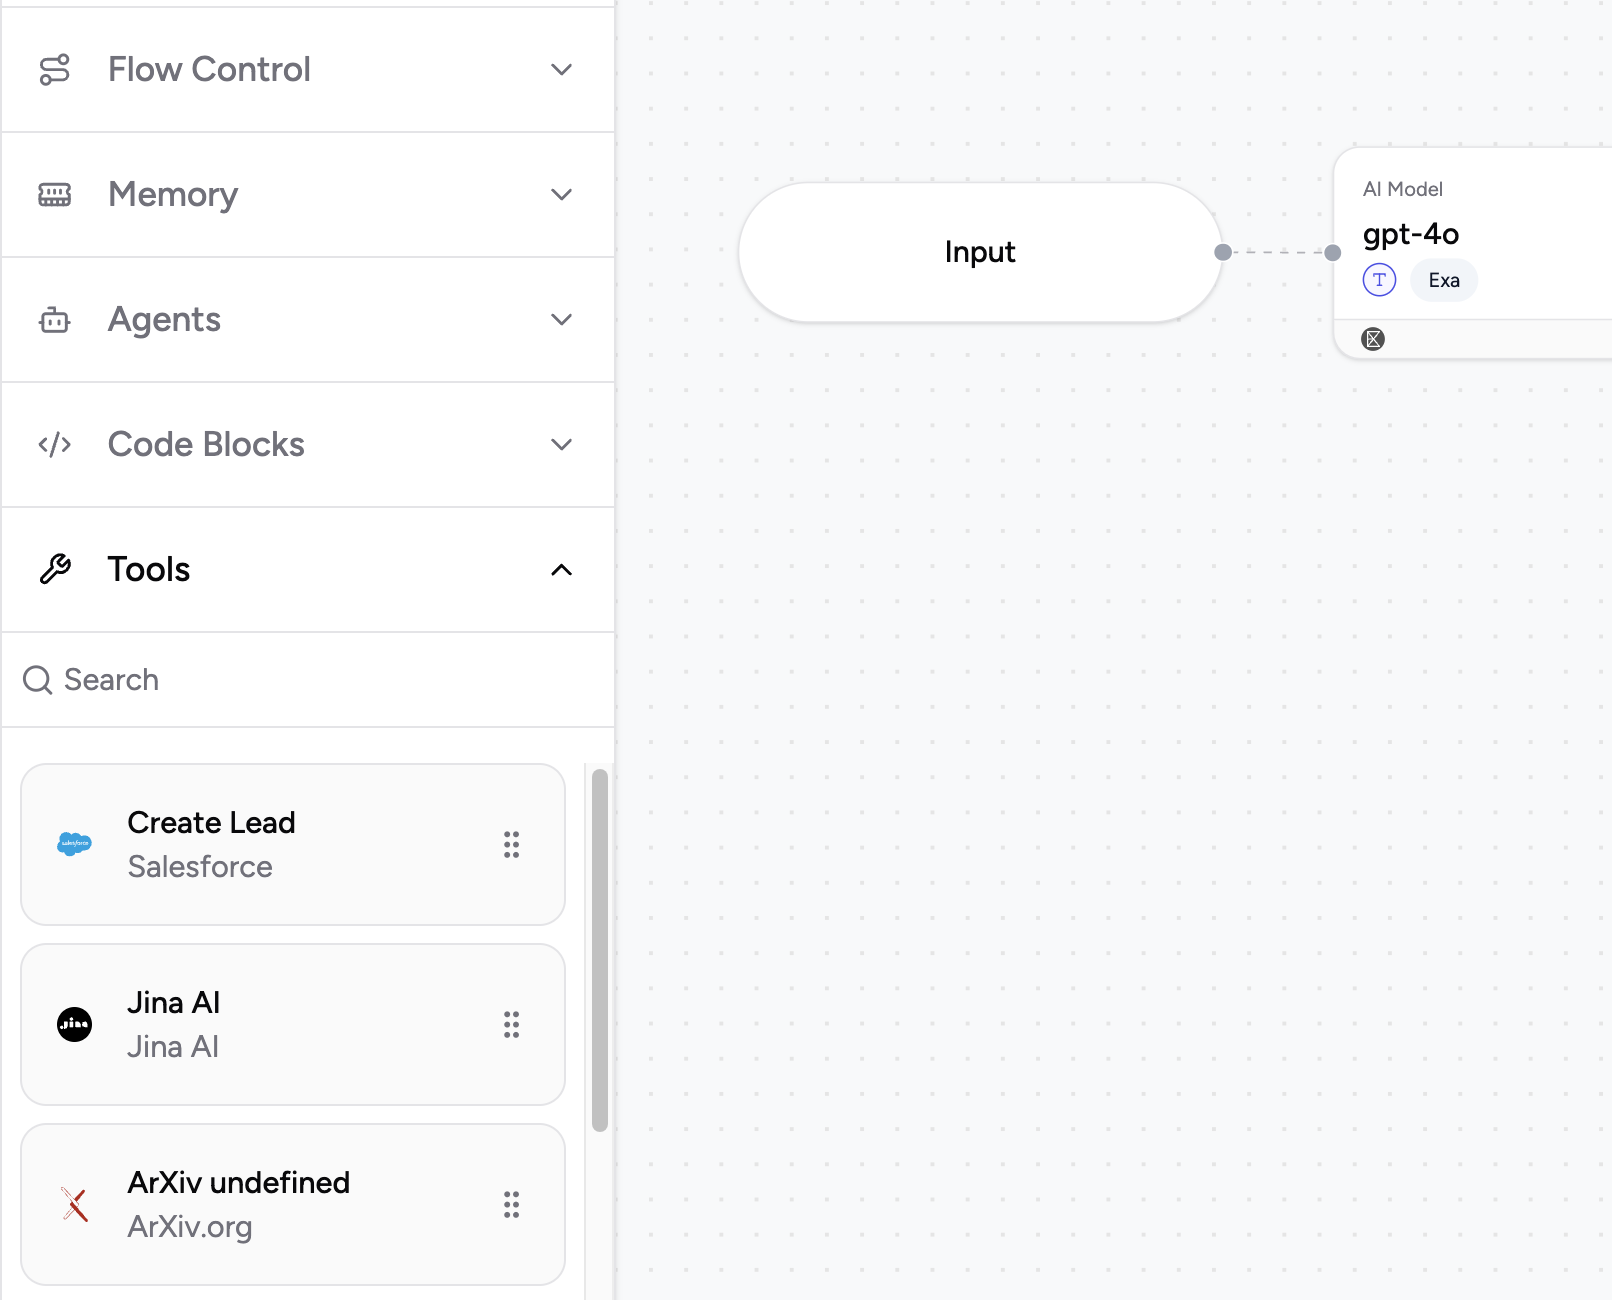
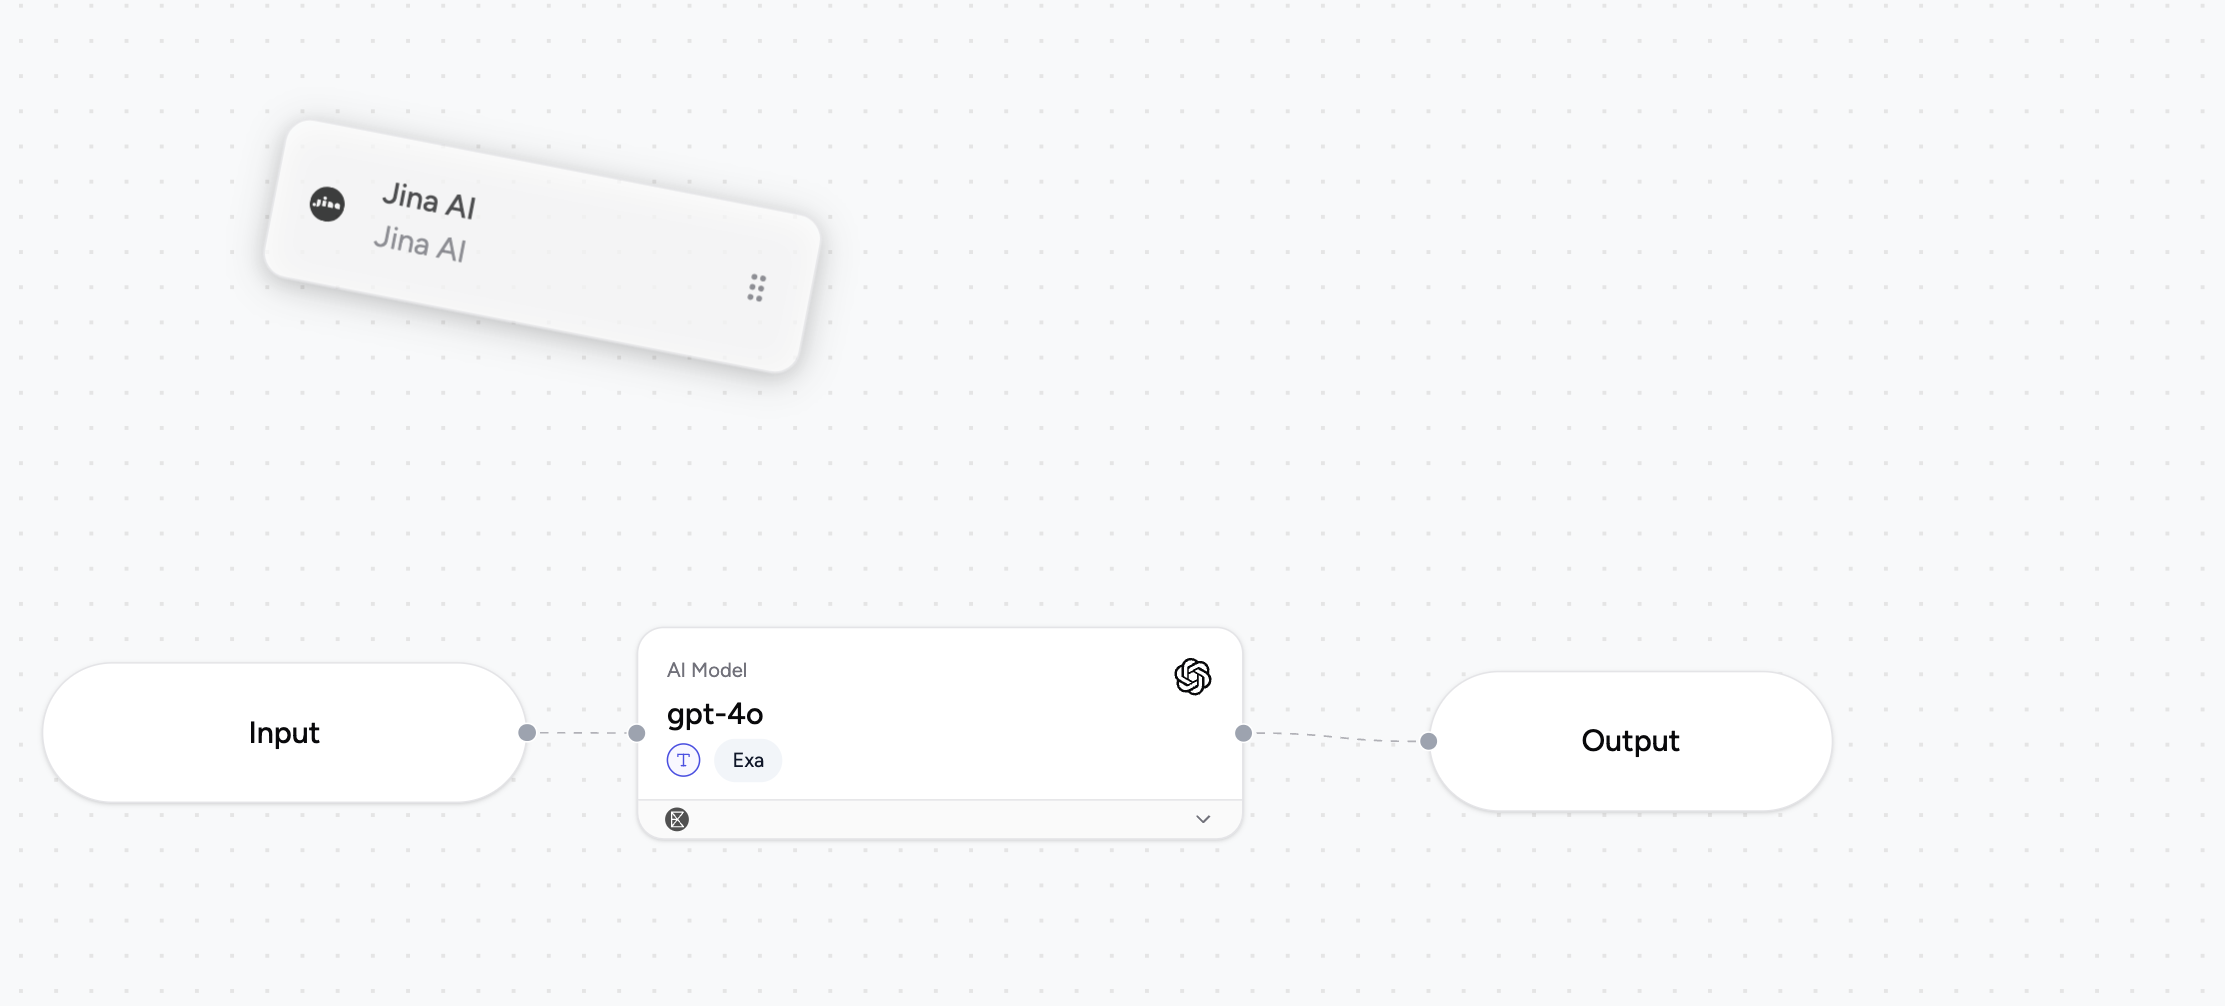
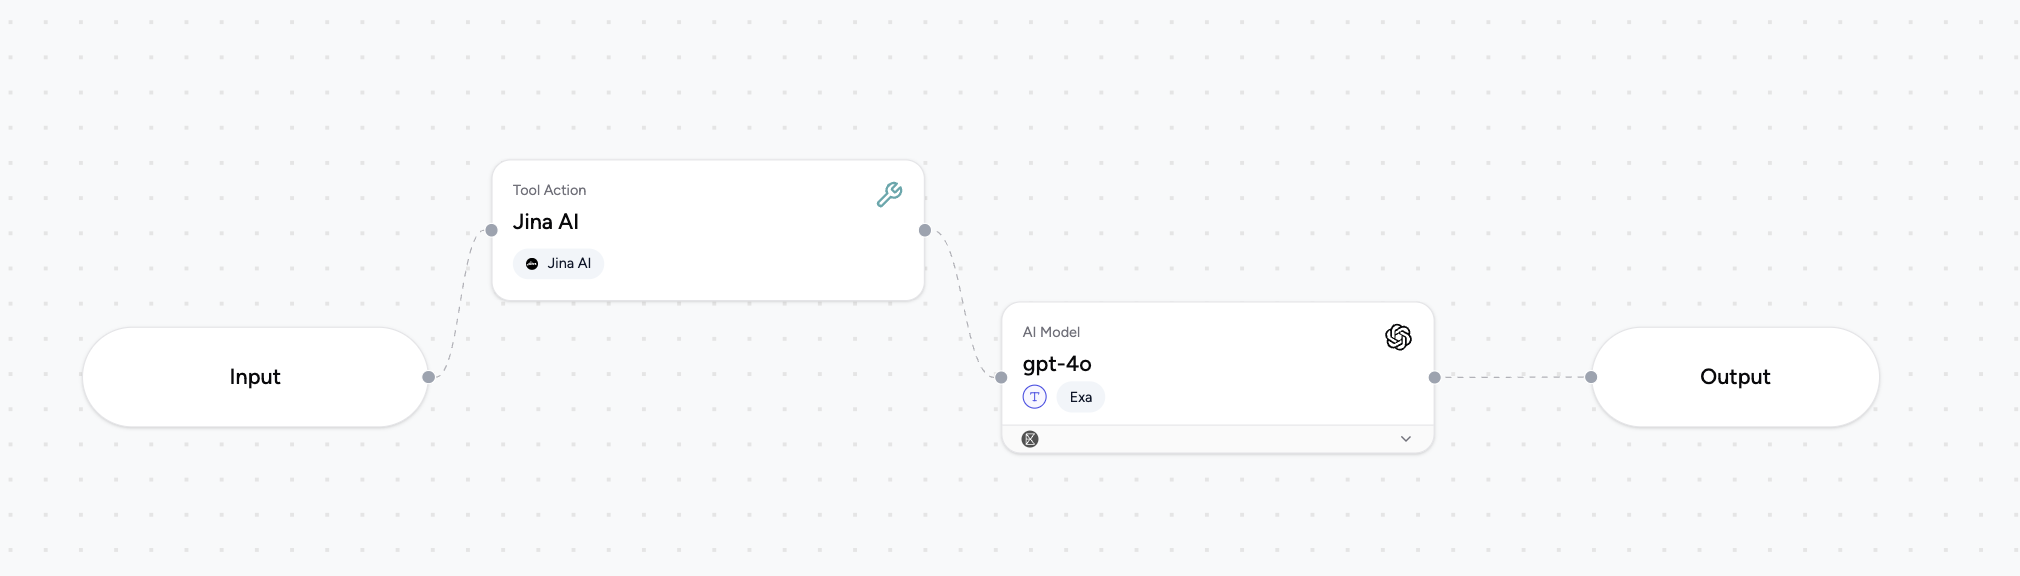
- Drag and drop the desired tool from the sidebar onto the agent canvas. It will appear as a “Step” in your pipeline.
Connect a Tool in an Agent Workflow
Tools, when added as steps, can be connected using lines to define the flow of data and execution order within your agent pipeline.- To connect a tool: Click and drag a line from the output port of a preceding step (e.g., an LLM or Data Source) to the input port of your tool action. Similarly, you can connect the tool’s output to subsequent steps.
Configure Tool Parameters
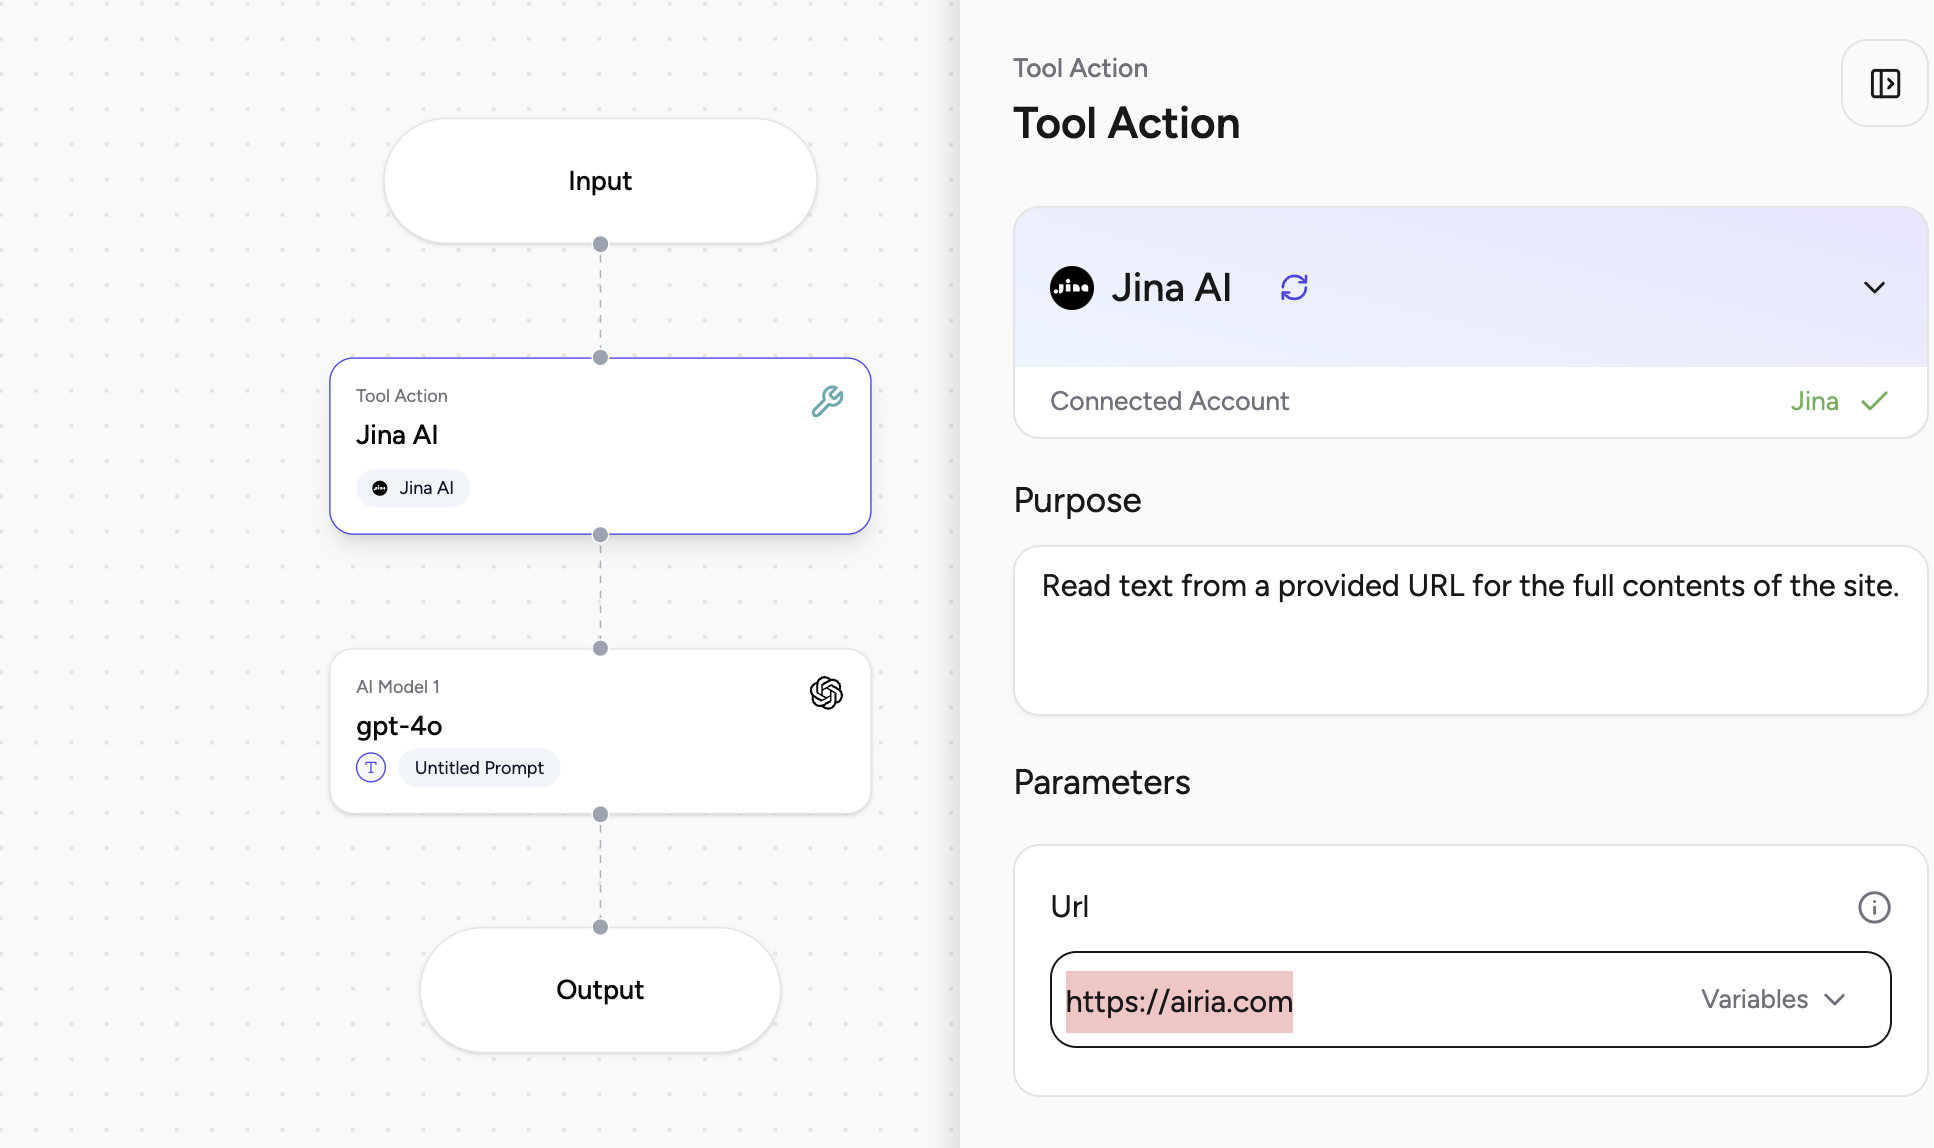
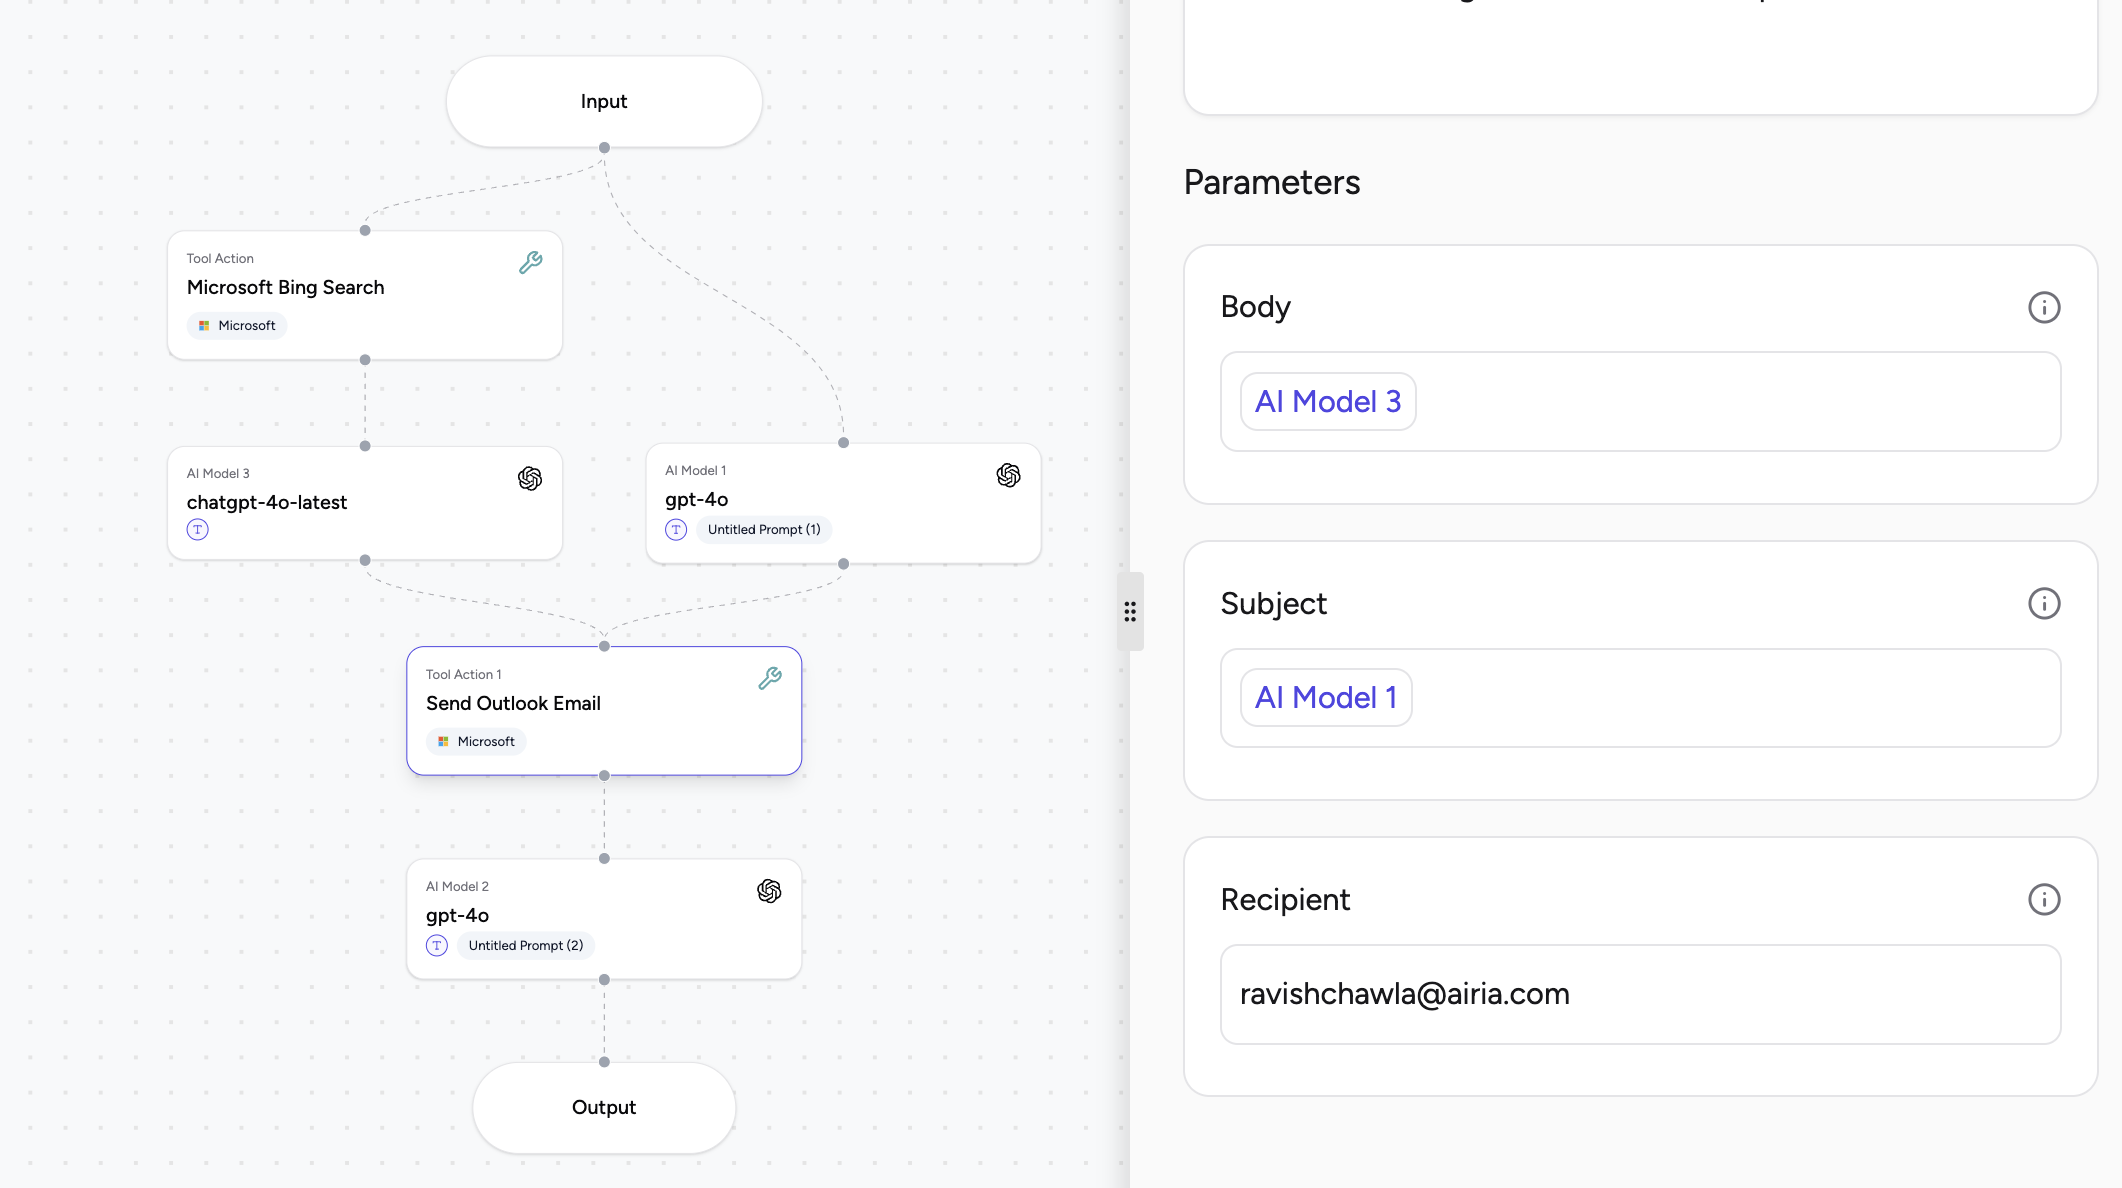
Select the tool action block on the canvas to configure its parameters in the right-hand sidebar. Here, you can define values for the tool’s inputs.User-Defined Values
You can directly input static values for tool parameters. This is useful when a parameter’s value is constant or known beforehand, regardless of previous agent steps.- Type directly: Simply type the desired value into the parameter field.
Agent Variables (Dynamic Values)
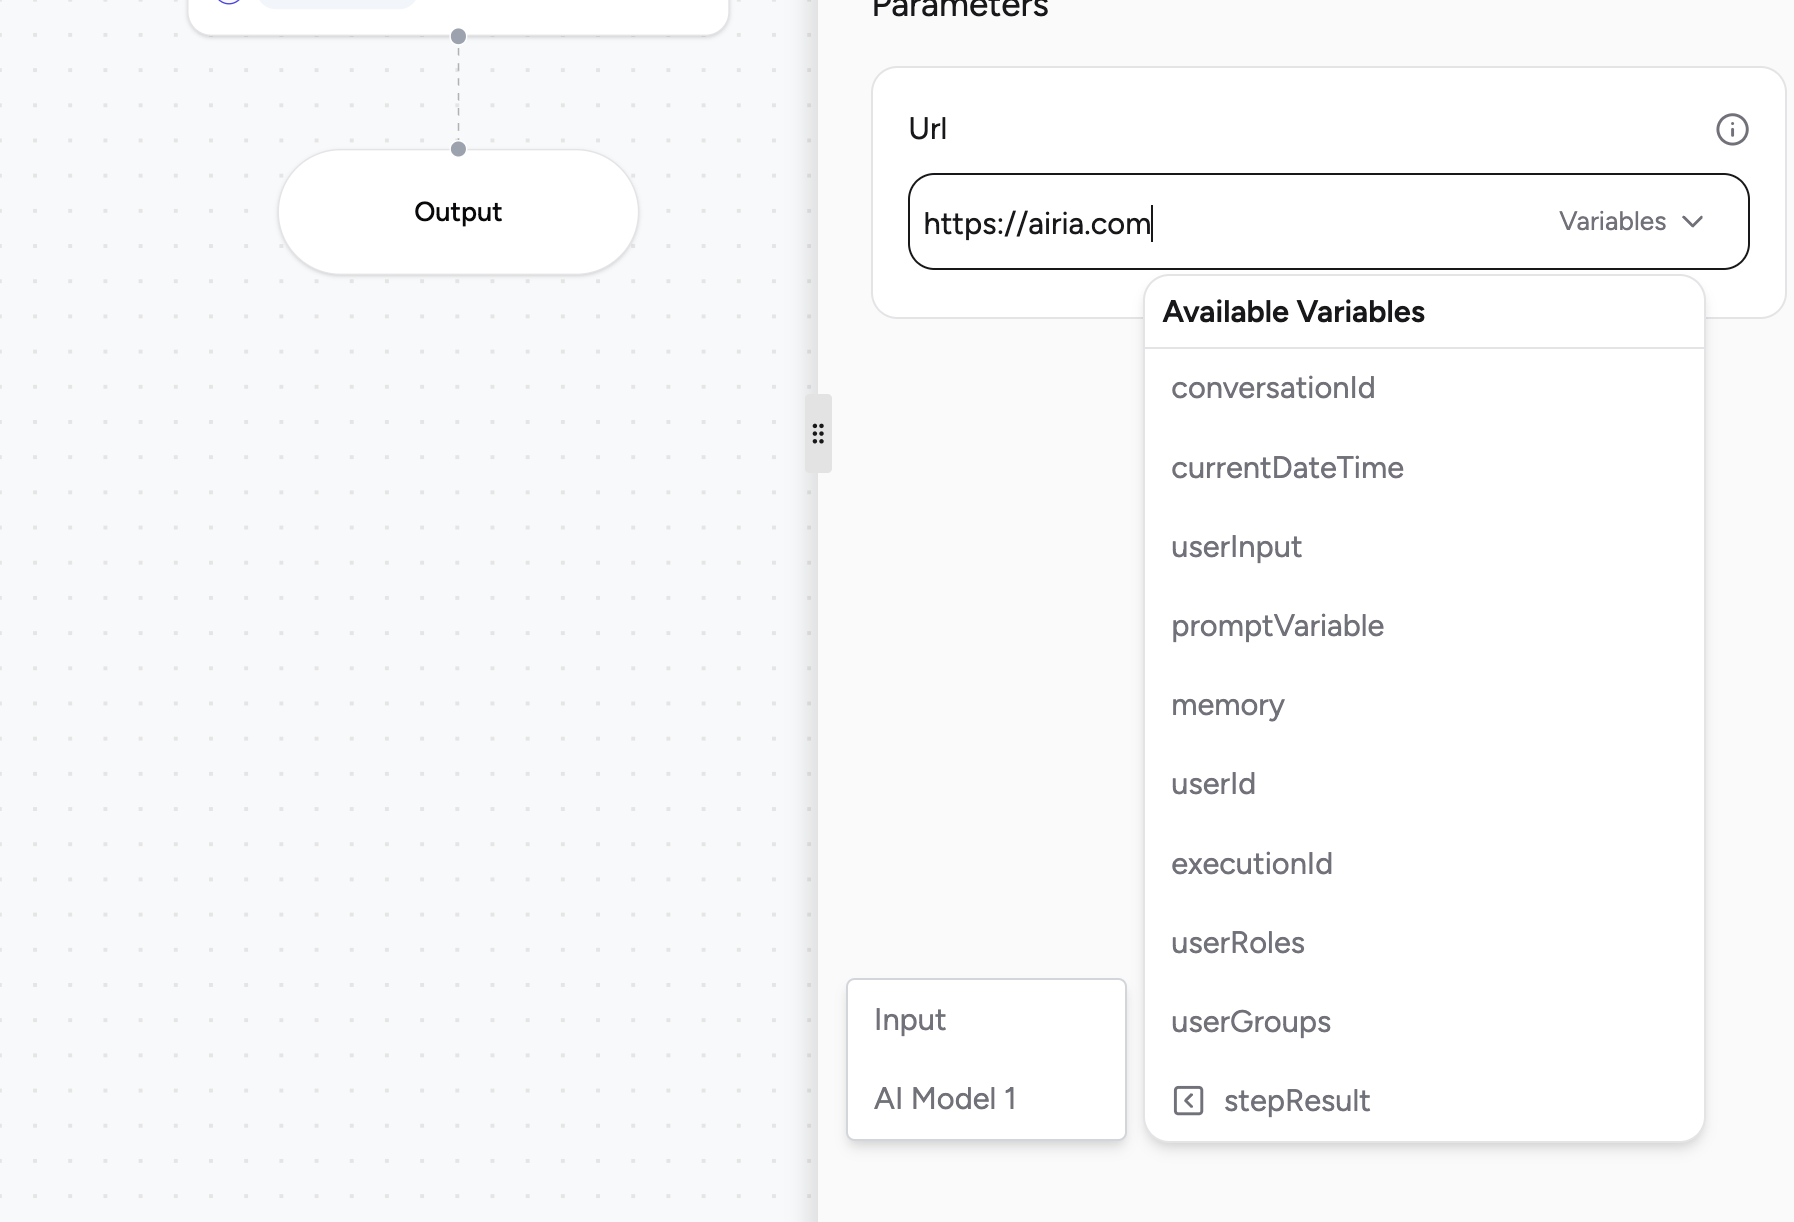
For dynamic workflows, you can map parameters to variables from previous steps. This allows the tool to use data generated by other components in your agent.- Select the dropdown: Click the dropdown icon next to the parameter field to view available variables.
- Choose a
stepResult: To retrieve a value from a specific preceding step, select thestepResultvariable. This will expand to show a list of all available steps in your agent. - Select the source step: Choose the step whose output you want to use as the parameter’s input.
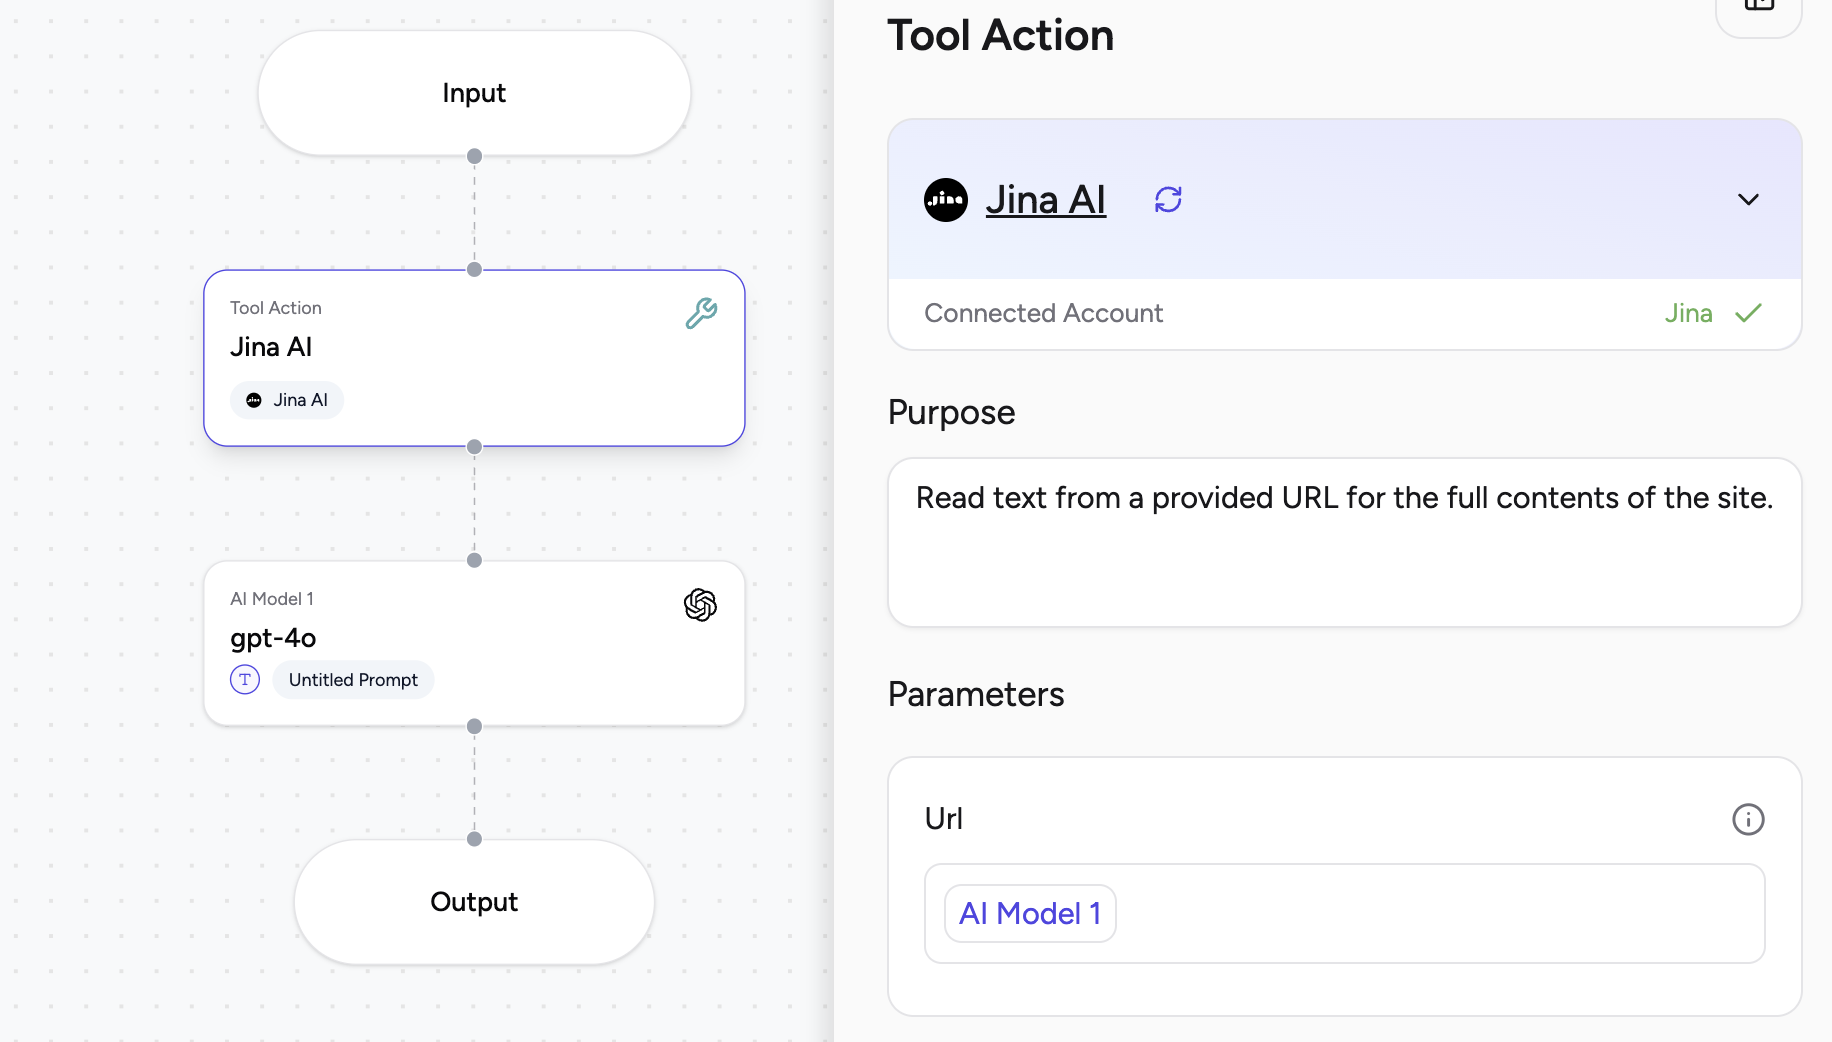
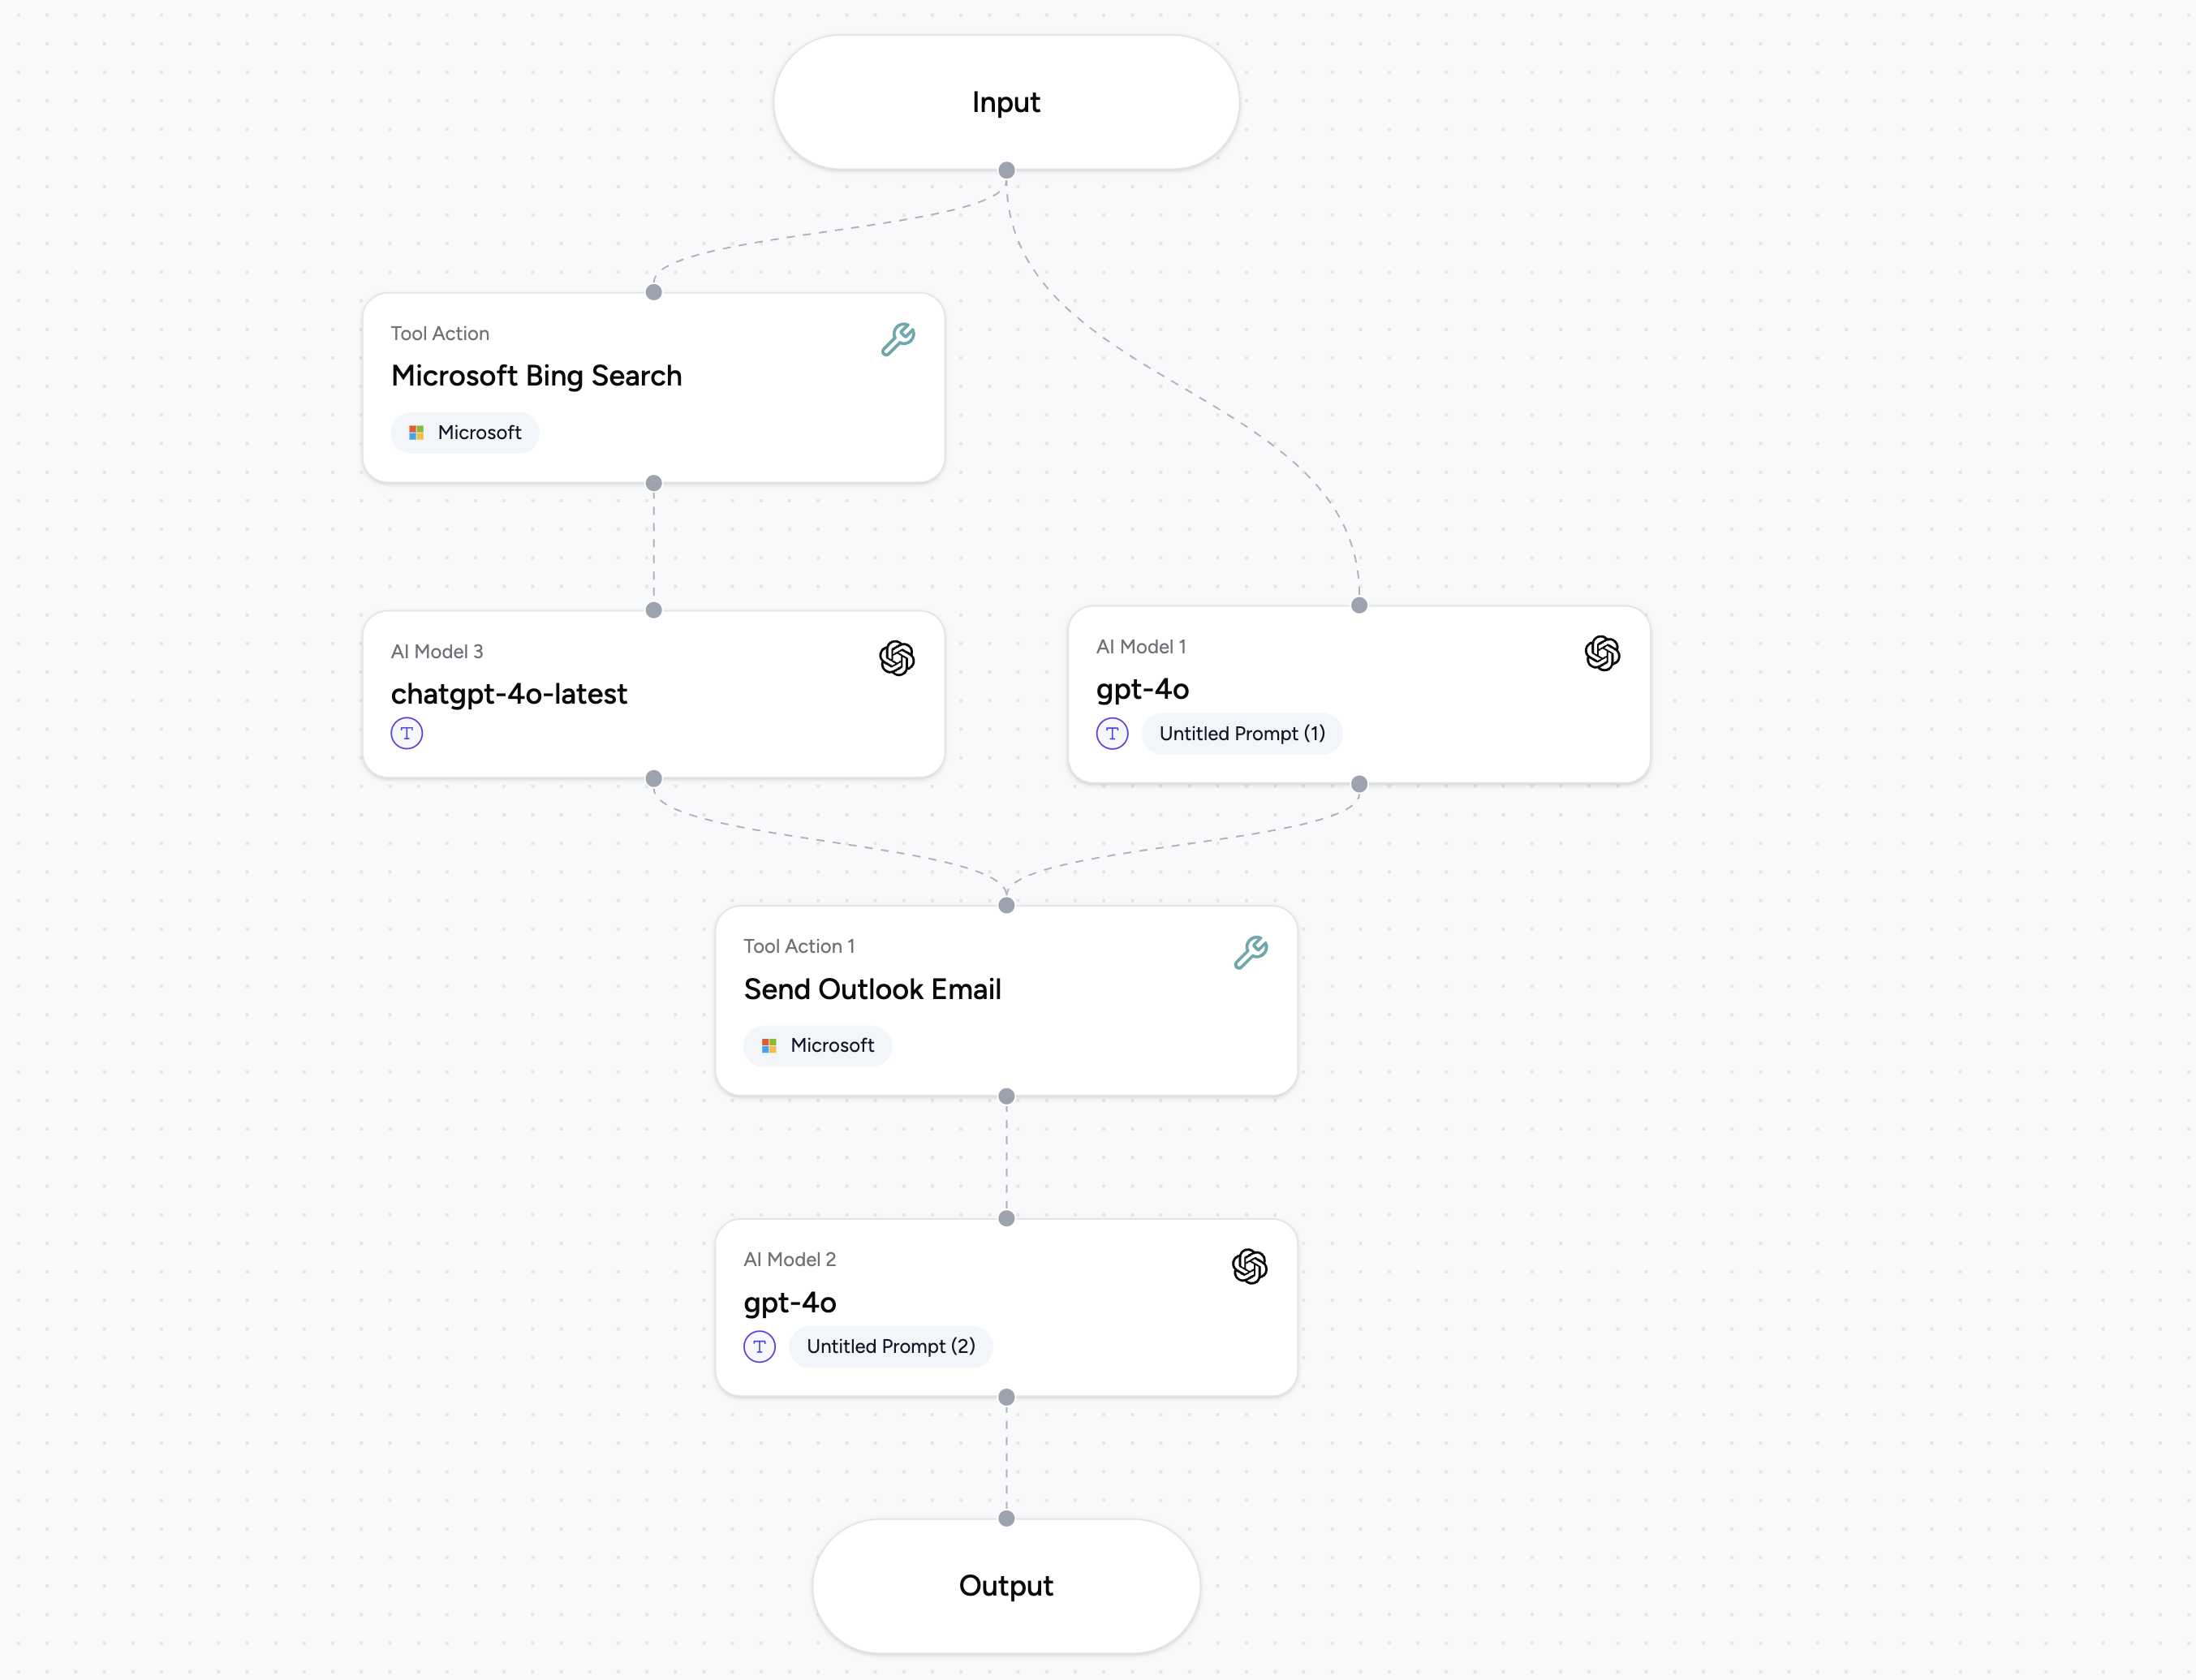
💡 Example: You can create a multi-step flow where the output of multiple Models are fed into the same action, such as sending an email. Each parameter can have its own source step or a user-defined value.
Test the Tool Action
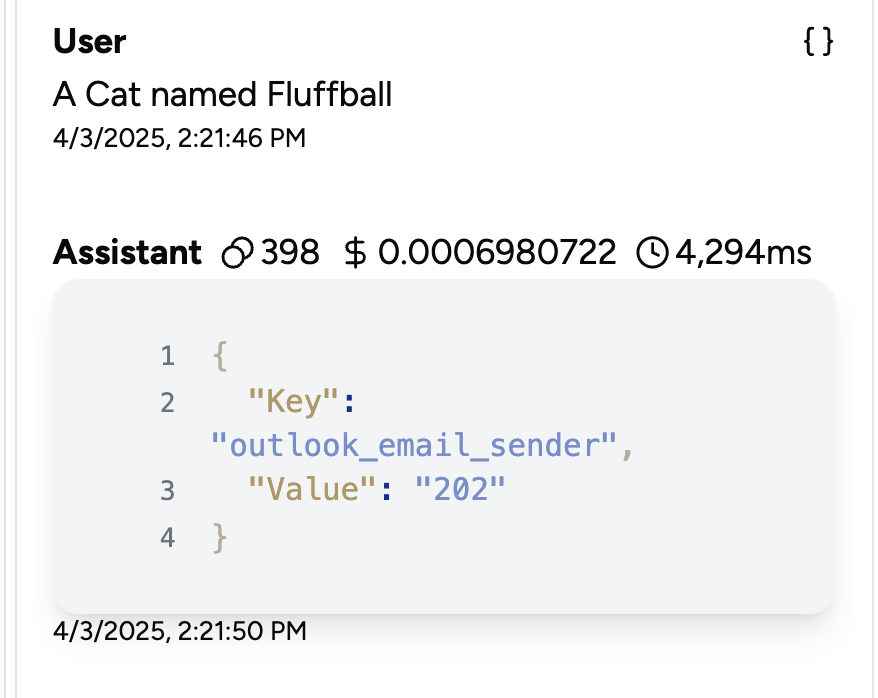
After configuring your agent, run it to test the tool action:- The output of the tool action will be displayed directly in the test results.
- You can also feed this output to a subsequent LLM block to present a natural language summarization of the flow result.
By following these steps, you can effectively extend your Agents with powerful tool-based actions, enabling complex and automated workflows. If you have any queries, please refer to the respective tool documentation or reach out for support.