Adding and Configuring the Confluence Tool
-
Add the Confluence Tool
Navigate to the library and select the “Atlassian Confluence” tool to add it to your project. - Authenticate the Tool For the tool, provide a new credential or select an existing one. If you’re creating a new credential, you will be redirected to Atlassian to provide your account details. Your Organization details will be automatically fetched once you connect your account.
- Full page content Select “Always retrieve full page content” if you want the tool to return the content of the pages searched during retrieval. If this option is not selected, only a snippet of text relevant to the search is returned, instead of the full document.
- Due to context limits, the maximum number of pages that can be returned are 10.
- Add the tool to an Agent
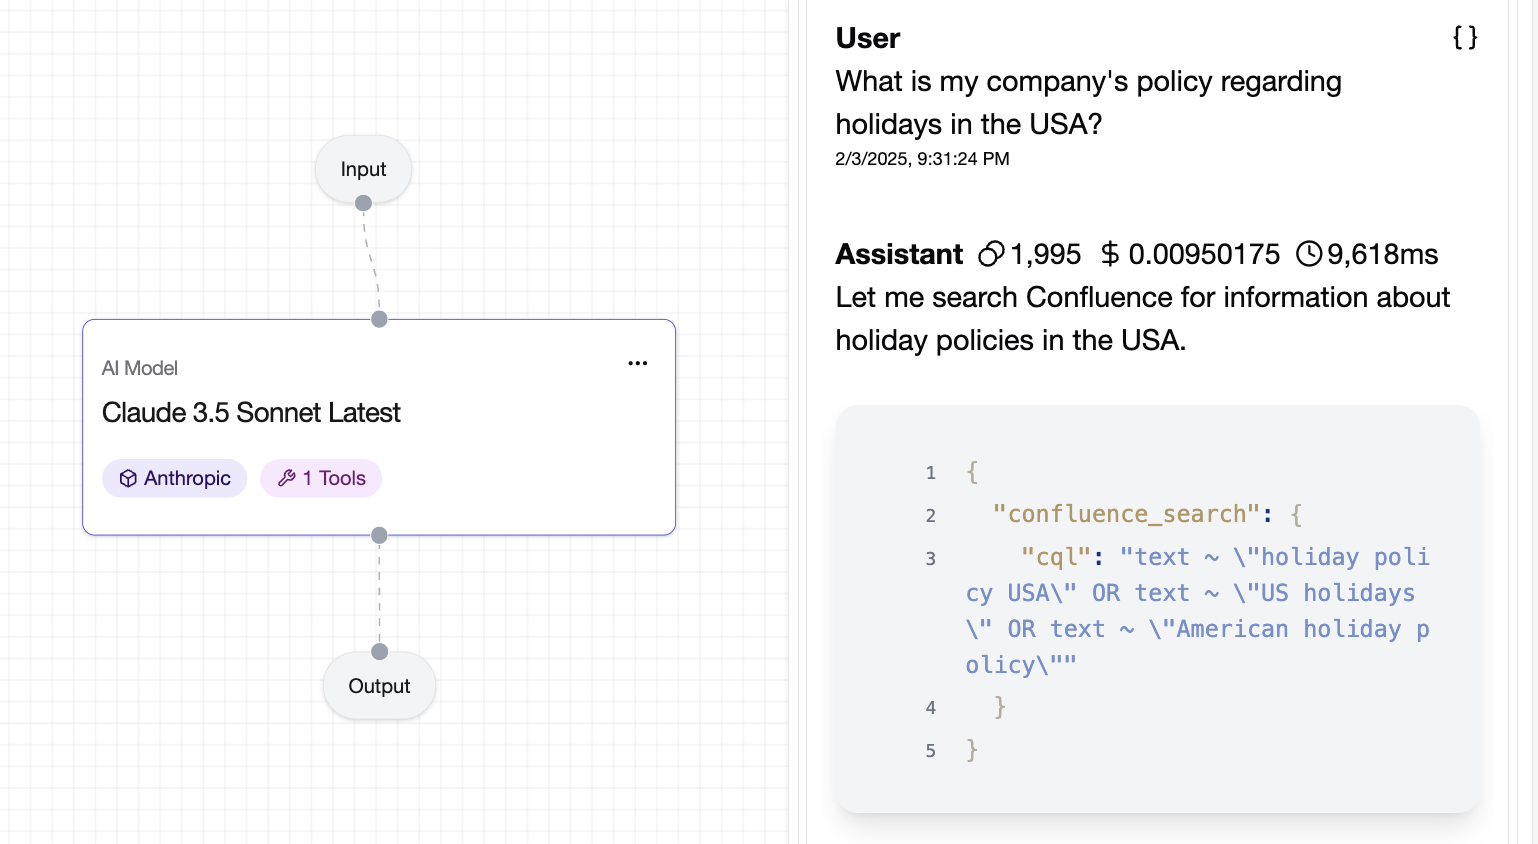
Now that the tool has been saved, you can add it to an Agent and start using it to search for internal documentation.